 La RochereclearSearch
 La RocherecolourSearch
 La RocheretransparencysandblastingSearch
 SolarisclearSearch
 SolariscolourSearch
 Rods and Mortargolden rulesmortarexpansionreinforcementspacers & jointspanel anchorsinstallationspecisicationopening sizescurves
 EasifixGolden Rulesframespaceranchor bracketadhesiveInstallationopening sizes
  Precast Concretefire ratedgolden rulesu channelinstallation
 Precastaboutinstallation
 Safewallend postscorner posts
 4 sided supportabout
 3 sided support open topend posts
 3 sided support open side
 2 sided support
 corner glass blockscornerpost


installation
Installing a precast Easifix panel
Preparation of the opening
The main body (larger L-section) is screwed together to form a four-sided frame and is then secured into the perimeter opening at 450-600mm centres. Markation grooves indicate where to drill and screw, plugs and screws are not supplied and should be suited to aperture construction. Packers/shims are required to prevent distortion. After installing the panel, the secondary L-section is bolted to the main body to clamp securely in place.
The panel is available in a white powder-coated finish (Ral: 9010) as standard. Special colours are subject to order and lead times will apply. A white PVC plasterboard cover strip is available as a finishing accessory which hooks over the edge of the channel and in which plasterboard can be slotted.
For the greatest stability, the two-part U-channel should be anchored into a four-sided opening.
If precast Easifix is used in conjunction with safewall the supported edge where the end post is located may appear quite thick as the width of the box section and the channel will be visible.
To construct precast Easifix supported on just two sides a specially fabricated hybrid style end post has to be used. It is made to order and welded to an L-shape and runs up one vertical edge and across the head. The post is located into boss sections secured to the floor and supporting wall.
As precast is tailor-made any quantity can be ordered from one panel upwards. Ordering four, five or more panels may prove financially beneficial when comparing the time taken to fit the precast and U-channel against in situ loose-build.
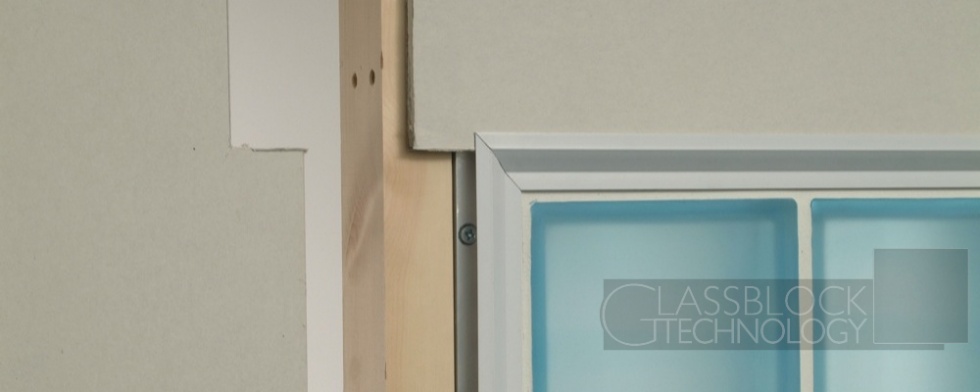
Step 1: Position and screw in place first part of aluminium channel. Ensure that the screws are located to the relevant marker.
Step 2: Vertically lift the first panel having placed plastic packers on base of aluminium (a) and slide into position.
Temporarily secure in place using restraint anchors (b) supplied.
Step 3: Apply silicone to the connecting joint on the second panel (c). Carefully lift second panel in vertical motion onto plastic packers and slide up to first panel ensuring a neat joint at intersecting point. Note: Apply more silicone if required.
Step 4: Position second piece of channel and screw bolts into predrilled holes. Note: Fit sides first, then top piece, then bottom.
If the Precast Easifix is a vertically or horizontally connecting panel, grout the connecting joint on both sides with the grout supplied.
Step 5: If using plasterboard cover strip carefully measure mitre corners and slot into position.
Step 6: Position plasterboard behind cover strip.
Note:
When designing glass block walling and considering precast Easifix, the application and environment should be considered (in terms of access and health and safety regulations for manual handling and lifting).